How to Connect WordPress with Cloudflare for Better Speed and Security
Category: Security

1. Create a Cloudflare Account
To get started, you need a Cloudflare account. Follow these steps:
- Visit Cloudflare’s website.
- Click on Sign Up and fill in the required details.
- Once your account is created, log in to access the Cloudflare dashboard.
2. Add Your Website to Cloudflare
- In the Cloudflare dashboard, click on the Add a Site button.
- Enter your website’s URL and click Add Site.
- Choose a Cloudflare plan. The free plan is sufficient for most WordPress users, but you can upgrade for additional features.
3. Update DNS Records
- Cloudflare will scan your DNS records automatically. Verify that all records are correct.
- If you notice any missing records, add them manually.
- Once verified, click Continue.
4. Change Your Domain’s Nameservers
- Cloudflare will provide you with two nameservers.
- Log in to your domain registrar (e.g., GoDaddy, Namecheap, or GreenGeeks) and navigate to the DNS settings.
- Replace the current nameservers with the ones provided by Cloudflare.
- Save the changes. It may take up to 24 hours for the DNS changes to propagate.
5. Configure Cloudflare Settings
- Return to the Cloudflare dashboard and click on your website.
- Navigate to the Speed section and enable features like Auto Minify and Rocket Loader to optimize performance.
- In the Security section, enable the Web Application Firewall (WAF) for enhanced protection.
- Under the Caching tab, set the cache level to your preference.
6. Install the Cloudflare Plugin on WordPress
- Log in to your WordPress admin dashboard.
- Go to Plugins > Add New and search for “Cloudflare.”
- Install and activate the official Cloudflare plugin.
- Go to Settings > Cloudflare and log in with your Cloudflare account.
- Configure the plugin settings to match your preferences.
7. Test Your Website
Once everything is set up, test your website to ensure it’s working correctly:
- Use tools like GTmetrix or Pingdom to check site speed improvements.
- Visit your site to confirm there are no errors.
Benefits of Using Cloudflare with WordPress
- Faster Loading Times: Cloudflare’s CDN distributes your site’s content across multiple servers worldwide, reducing latency.
- Improved Security: Features like DDoS protection and SSL encryption safeguard your site from attacks.
- Cost Efficiency: The free plan offers a robust set of tools suitable for most users.
Connecting WordPress with Cloudflare is a simple yet powerful way to boost your website’s performance and security. With just a few steps, you can provide a faster and safer experience for your visitors. Start your integration today and enjoy the benefits!
Conclusion:
Connecting WordPress with Cloudflare is a simple yet powerful way to boost your website’s performance and security. By following the steps outlined above, you can ensure faster loading times, enhanced protection, and an overall improved experience for your visitors. Whether you’re running a personal blog or a business site, the integration is a worthwhile investment in your site’s success. Start your integration today and enjoy the benefits!
Contact us to get more information about it.
Search blogs
Other Blogs
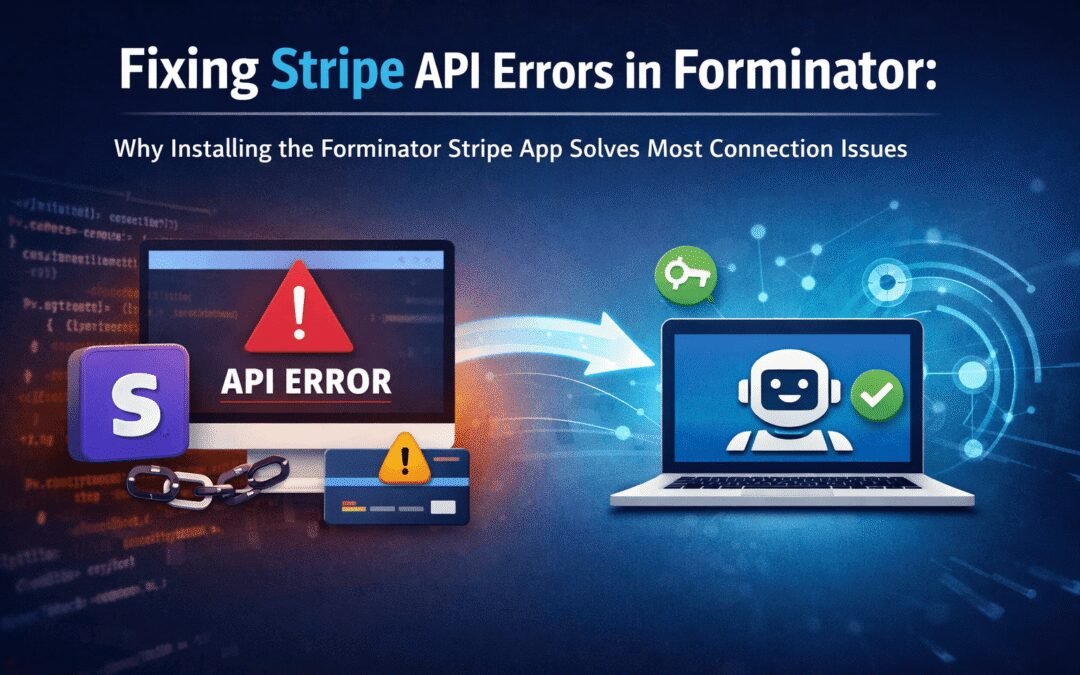
Fixing Stripe API Errors in Forminator: How the Forminator Stripe App Solves Connection Issues
If your Stripe payments are failing or Forminator is showing API connection errors, the issue is usually caused by missing or invalid Stripe permissions. This happens when Stripe API keys are not properly linked or have been restricted by Stripe for security reasons....
How to Fully Secure Your WordPress Website Using Defender Pro
Securing a WordPress website requires more than just installing a security plugin—it depends on configuring the right features correctly. Defender Pro provides a comprehensive set of tools designed to protect your site from hackers, malware, and unauthorized access when used effectively.
How To Fix The Missing Divi Library Layouts Issue
Missing Divi Library layouts are often caused by permalink or rewrite rule conflicts, especially after site migrations, updates, plugin changes, or hosting switches. In most cases, the issue can be fixed quickly by simply re-saving your WordPress permalinks. This forces WordPress to regenerate its rewrite rules, which Divi relies on to load saved layouts correctly. Once refreshed, the Divi Library items usually reappear instantly in the Divi Builder without any data loss or configuration changes.
How to Fix WordPress Not Sending Emails Problem
One of the most frustrating issues for WordPress users is when the website suddenly stops sending emails. Whether it’s contact form messages, password reset links, or WooCommerce order notifications — these emails are essential for smooth communication and user trust....
10 Common WordPress Issues and How to Fix Them
WordPress is a powerful and flexible platform, but it can occasionally present technical challenges that disrupt your website’s performance or functionality. From plugin conflicts and slow loading speeds to security issues, broken links, and failed updates, these problems are common for many site owners. This guide highlights the most frequent WordPress issues and provides practical, easy-to-follow solutions to resolve them quickly. Whether you’re troubleshooting errors, improving performance, or strengthening security, understanding these fixes can help keep your WordPress site running smoothly and reliably.