
1. Enable Two-Factor Authentication (2FA)
Two-Factor Authentication adds an extra layer of security by requiring a one-time verification code during login. Even if someone gets your password, they still cannot enter without the second authentication step. This greatly reduces the chances of unauthorized access.
Steps:
- Open Defender in your WordPress dashboard.
- Click on Two-Factor Authentication (2FA) settings.
- Enable 2FA for all admin users.
- Choose your preferred method: Email, Google Authenticator, or Authy.
- Generate backup codes in case you lose access to your device.
Enabling 2FA ensures only trusted users can log in.
2. Turn On Login Protection
Login Protection helps secure your login page from brute-force attacks, where bots try thousands of password combinations. Defender monitors failed login attempts and prevents suspicious users from trying again.
Steps:
- Go to Defender → Security → Login Protection.
- Enable the login protection module.
- Set the limit for failed login attempts (e.g., 3 attempts).
- Choose how long an IP should be locked out.
- Enable permanent bans for repeated offenders.
This feature protects your website from password-guessing bots.
3. Hide and Rename Your Login URL
Every WordPress site uses /wp-admin or /wp-login.php, making it easy for hackers to target the login page. Defender Pro lets you create a custom login path so only you know the correct link.
Steps:
- Go to Defender → Security → Mask Login Area.
- Turn on the feature.
- Replace your login URL with a unique one like /super-admin, /secure-login, or /private-access.
- Save changes and bookmark the new URL.
Changing your login path hides your website from automated login attacks.
4. Harden Your WordPress Core
WordPress includes several default settings that may expose sensitive information. Hardening removes risky options and tightens your site’s overall security.
Steps:
- Open Defender → Hardening.
- Review the available recommendations.
- Enable options like Disable File Editor, Block PHP in Uploads, Disable Directory Browsing, and Prevent Information Exposure.
- Apply fixes one by one.
Hardening reduces the attack surface and closes common security loopholes.
5. Enable File Change Detection
Hackers often modify files silently or add hidden malicious scripts. Defender Pro’s File Integrity Monitor automatically scans your files and alerts you when something changes unexpectedly.
Steps:
- Go to Defender → File Integrity.
- Enable File Change Detection.
- Turn on email notifications for immediate alerts.
- Optionally enable auto-repair to restore original clean files.
This feature helps you catch suspicious file changes immediately.
6. Run a Full Malware Scan
Malware can hide inside your theme, plugins, or database without showing visible signs. Defender Pro’s malware scanner helps detect harmful scripts, injections, and corrupted files.
Steps:
- Open Defender → Malware Scanning.
- Start a full website scan.
- Review flagged files or suspicious code.
- Quarantine or delete unsafe files.
- Schedule automatic future scans for continuous protection.
Regular scans keep your website clean and infection-free.
7. Activate IP Blocking and Firewall Rules
Hackers often attack from known malicious IP addresses. Defender Pro’s firewall helps block harmful traffic and prevent unauthorized access attempts.
Steps:
- Go to Defender → Firewall → IP Banning.
- Enable automatic IP blocking for suspicious activity.
- Add repeat offenders to the blacklist.
- Optionally enable country blocking (geo-blocking).
- Add your own IP to the whitelist to avoid accidental lockouts.
Blocking malicious traffic keeps attackers away from your website.
8. Protect the Uploads Directory
The uploads folder is where users and admins upload media files. Hackers sometimes hide scripts inside these folders. Securing it prevents any unauthorized code execution.
Steps:
- Go to Defender → Hardening.
- Look for Uploads Directory Protection.
- Enable the option to block PHP execution inside uploads.
- Apply the recommended settings.
This prevents attackers from running malicious scripts through uploaded files.
9. Add Security Headers
Security headers add another defensive layer by controlling browser behavior. They help prevent clickjacking, MIME-type attacks, code injection, and more.
Steps:
- Go to Defender → Security Headers.
- Turn on recommended headers like:
- Strict-Transport-Security (HSTS)
- X-Frame-Options
- X-XSS-Protection
- Referrer-Policy
- Apply the settings and test your website.
Security headers strengthen your site’s overall protection.
10. Set Up Automated Backups (If Connected to WPMU DEV Hub)
Even with the best security, errors or malware may still happen. Having backups ensures you can restore your site instantly without losing data.
Steps:
- Log in to the WPMU DEV Hub.
- Open your website dashboard.
- Enable automatic backups.
- Choose daily or hourly backup schedules.
- Store backups safely in WPMU DEV cloud.
Backups act as your safety net in emergencies.
Conclusion:
Defender Pro is a powerful security plugin, but its effectiveness depends on how well you configure it. By enabling login protection, 2FA, file scanning, IP blocking, hardening, and backups, you create a strong defense system that keeps your WordPress site secure at all times. Following these steps ensures hackers, bots, and malware stay far away from your website.Search blogs
Other Blogs

Fixing Stripe API Errors in Forminator: How the Forminator Stripe App Solves Connection Issues
If your Stripe payments are failing or Forminator is showing API connection errors, the issue is usually caused by missing or invalid Stripe permissions. This happens when Stripe API keys are not properly linked or have been restricted by Stripe for security reasons....
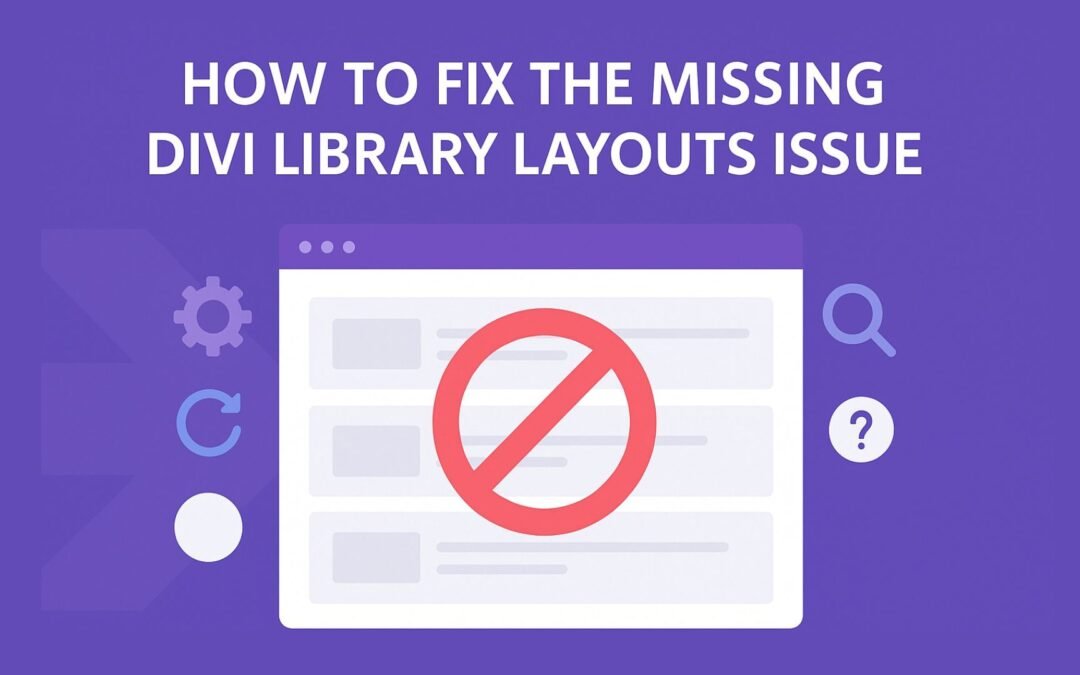
How To Fix The Missing Divi Library Layouts Issue
Missing Divi Library layouts are often caused by permalink or rewrite rule conflicts, especially after site migrations, updates, plugin changes, or hosting switches. In most cases, the issue can be fixed quickly by simply re-saving your WordPress permalinks. This forces WordPress to regenerate its rewrite rules, which Divi relies on to load saved layouts correctly. Once refreshed, the Divi Library items usually reappear instantly in the Divi Builder without any data loss or configuration changes.
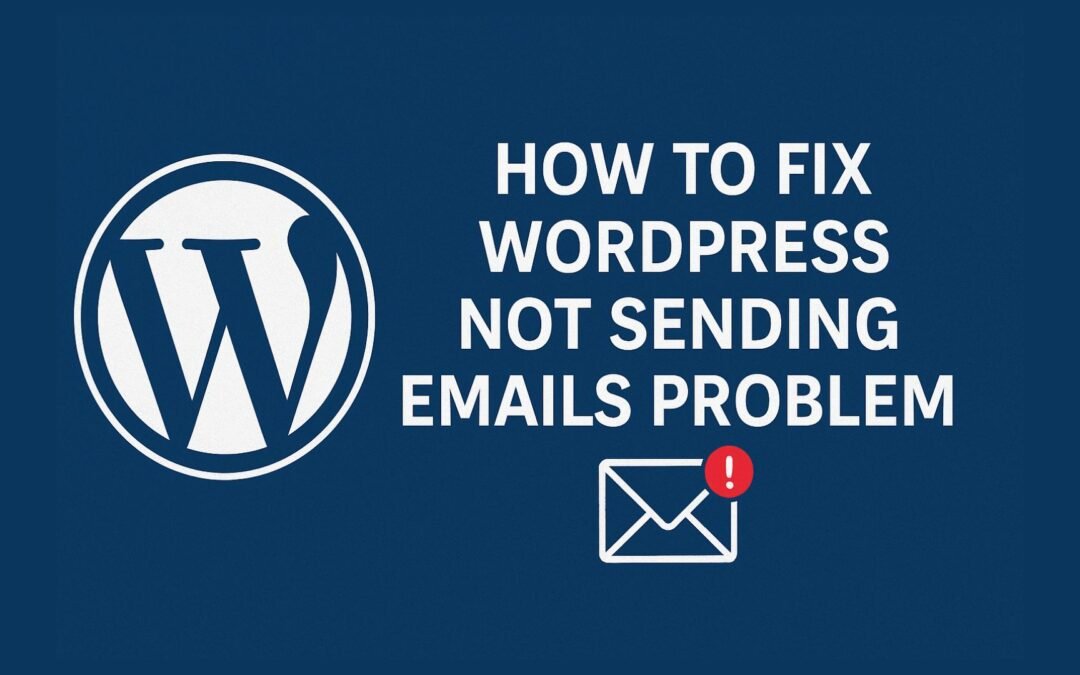
How to Fix WordPress Not Sending Emails Problem
One of the most frustrating issues for WordPress users is when the website suddenly stops sending emails. Whether it’s contact form messages, password reset links, or WooCommerce order notifications — these emails are essential for smooth communication and user trust....
10 Common WordPress Issues and How to Fix Them
WordPress is a powerful and flexible platform, but it can occasionally present technical challenges that disrupt your website’s performance or functionality. From plugin conflicts and slow loading speeds to security issues, broken links, and failed updates, these problems are common for many site owners. This guide highlights the most frequent WordPress issues and provides practical, easy-to-follow solutions to resolve them quickly. Whether you’re troubleshooting errors, improving performance, or strengthening security, understanding these fixes can help keep your WordPress site running smoothly and reliably.
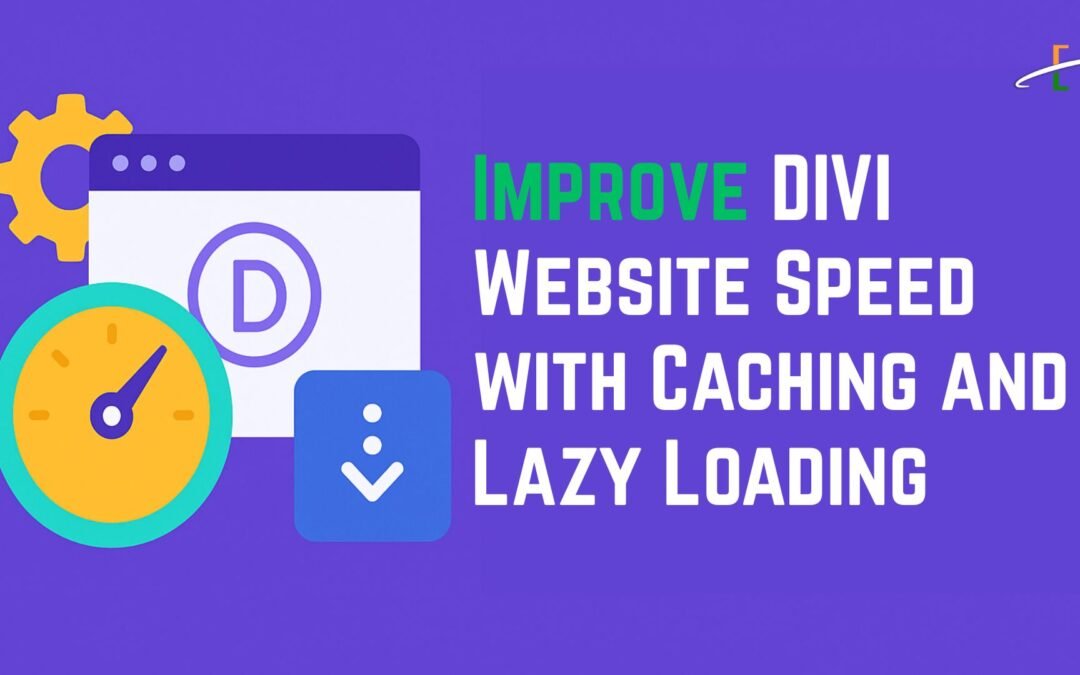
How to Improve Divi Website Speed with Caching and Lazy Loading
If you’re using the Divi theme for WordPress, you already know it’s one of the most powerful and flexible page builders available. But with its wide range of features comes the risk of slower page load times—especially if your site isn't properly optimized. Two of the...