Comprehensive Instructions for Installing and Configuring Avada
Category: Plugins | Web Design

Here’s a step-by-step guide to installing and setting up the Avada theme on your WordPress website:
1. Purchase Avada Theme:
Before you can install Avada, you need to purchase a license from the ThemeForest marketplace.
2. Download Avada Theme Files:
After purchasing Avada, download the theme files from your ThemeForest account. You will receive a zip file containing the Avada theme package.
3. Install Avada Theme:
- Log in to your WordPress admin dashboard.
- Navigate to Appearance > Themes.
- Click on the “Add New” button.
- Click on the “Upload Theme” button.
- Choose the Avada zip file you downloaded and click “Install Now.”
- Once the theme is uploaded, click the “Activate” button to activate the Avada theme on your website.
4. Install Required Plugins:
Upon activating Avada, you will be prompted to install the required and recommended plugins. These plugins are necessary for the theme’s functionality. Follow the on-screen instructions to install and activate the plugins.
5. Register Your Avada Purchase:
To receive automatic updates and access to Avada’s support and premium features, you need to register your purchase. Go to Avada > Registration in your WordPress dashboard, enter your ThemeForest purchase code, and click “Register.”
6. Import Demo Content (Optional):
If you want to replicate the look and feel of one of Avada’s pre-designed demos, you can import demo content. This step is optional but recommended for beginners who want to get started quickly.
- Go to Avada > Demos.
- Choose the demo you want to import and click on the “Import” button.
- Follow the on-screen instructions to import demo content and settings.
7. Configure Avada Settings:
Navigate to Avada > Theme Options to configure Avada settings according to your preferences. Here you can customize various aspects of your website, including layout, typography, colors, header/footer, and more.
8. Create Your Website Content:
Now that Avada is installed and configured, you can start creating your website content. Use the Fusion Builder to design custom page layouts, add content elements, and build your website pages.
9. Customize Your Website:
Continue customizing your website by adding your logo, adjusting colors, fonts, and styling elements. You can also create custom menus, set up widgets, and configure other settings to personalize your website further.
10. Test Your Website:
Before launching your website, thoroughly test its functionality and responsiveness across different devices and browsers. Ensure that all links work correctly, forms are functional, and the website looks good on various screen sizes.
That’s it! You’ve successfully installed and set up the Avada theme on your WordPress website. Now you can start publishing content and growing your online presence with Avada’s powerful features and customization options.
Conclusion:
In conclusion, the step-by-step guide provided offers a comprehensive overview of the process involved in installing and setting up the Avada theme on a WordPress website. By following these instructions, users can effectively navigate through each stage, from purchasing and downloading the theme to configuring settings and importing demo content. With Avada’s intuitive interface and customization options, users have the flexibility to create unique and visually appealing websites tailored to their specific needs. Whether you’re a beginner or an experienced user, this guide serves as a valuable resource for seamlessly implementing Avada and unleashing its full potential for building professional and engaging websites.
Contact us to get more information about it.
Search blogs
Other Blogs
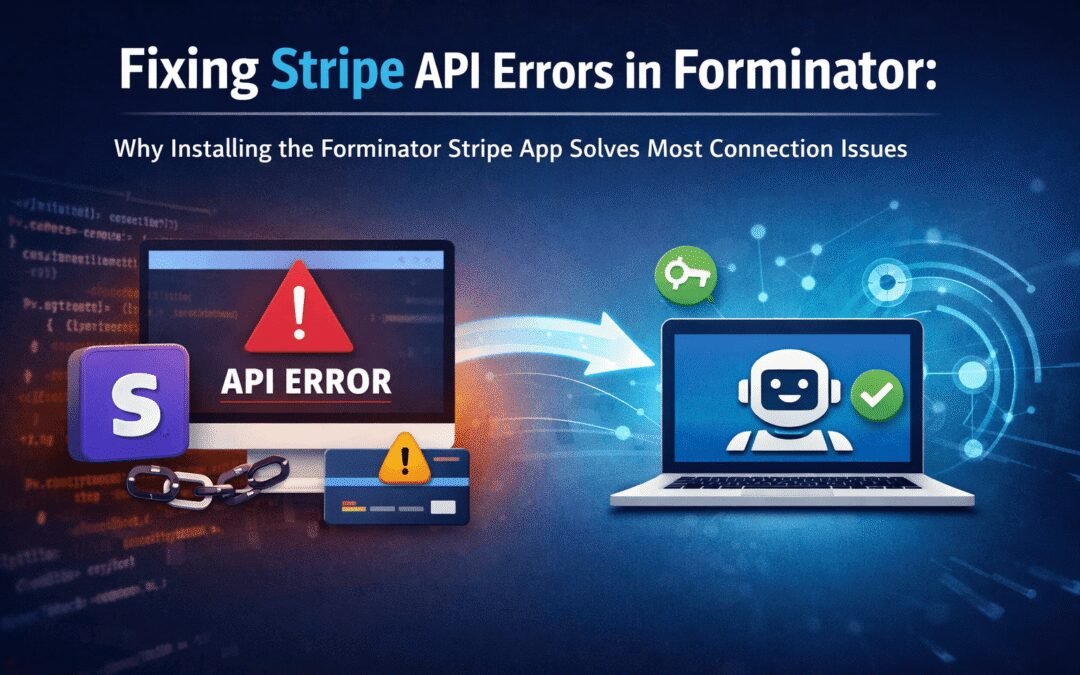
Fixing Stripe API Errors in Forminator: How the Forminator Stripe App Solves Connection Issues
If your Stripe payments are failing or Forminator is showing API connection errors, the issue is usually caused by missing or invalid Stripe permissions. This happens when Stripe API keys are not properly linked or have been restricted by Stripe for security reasons....
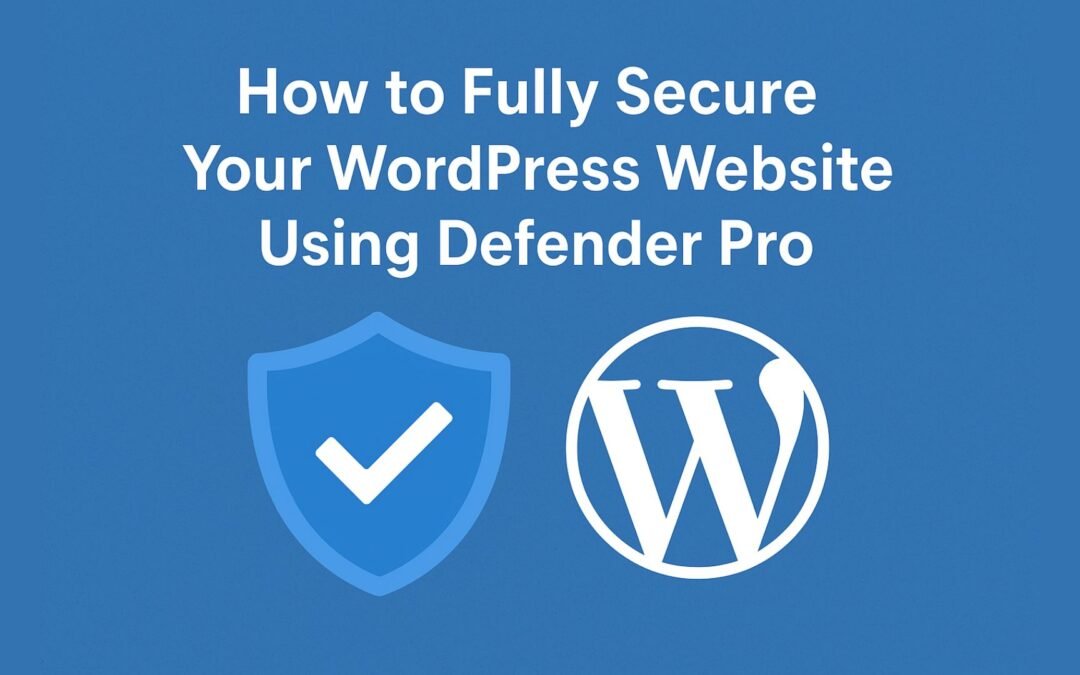
How to Fully Secure Your WordPress Website Using Defender Pro
Securing a WordPress website requires more than just installing a security plugin—it depends on configuring the right features correctly. Defender Pro provides a comprehensive set of tools designed to protect your site from hackers, malware, and unauthorized access when used effectively.
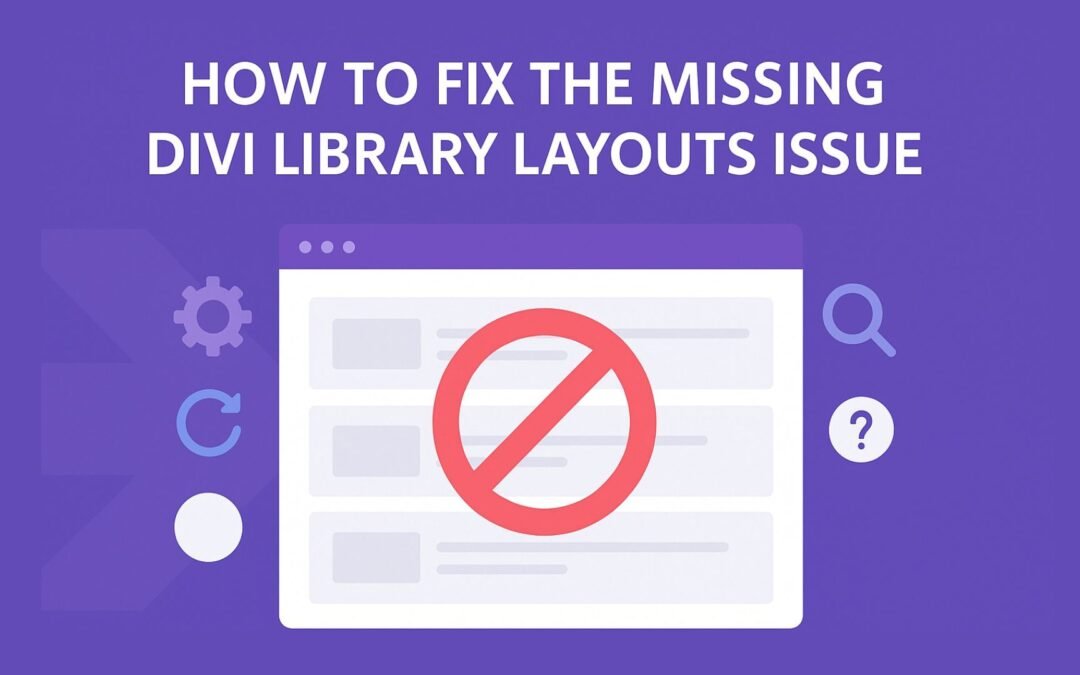
How To Fix The Missing Divi Library Layouts Issue
Missing Divi Library layouts are often caused by permalink or rewrite rule conflicts, especially after site migrations, updates, plugin changes, or hosting switches. In most cases, the issue can be fixed quickly by simply re-saving your WordPress permalinks. This forces WordPress to regenerate its rewrite rules, which Divi relies on to load saved layouts correctly. Once refreshed, the Divi Library items usually reappear instantly in the Divi Builder without any data loss or configuration changes.
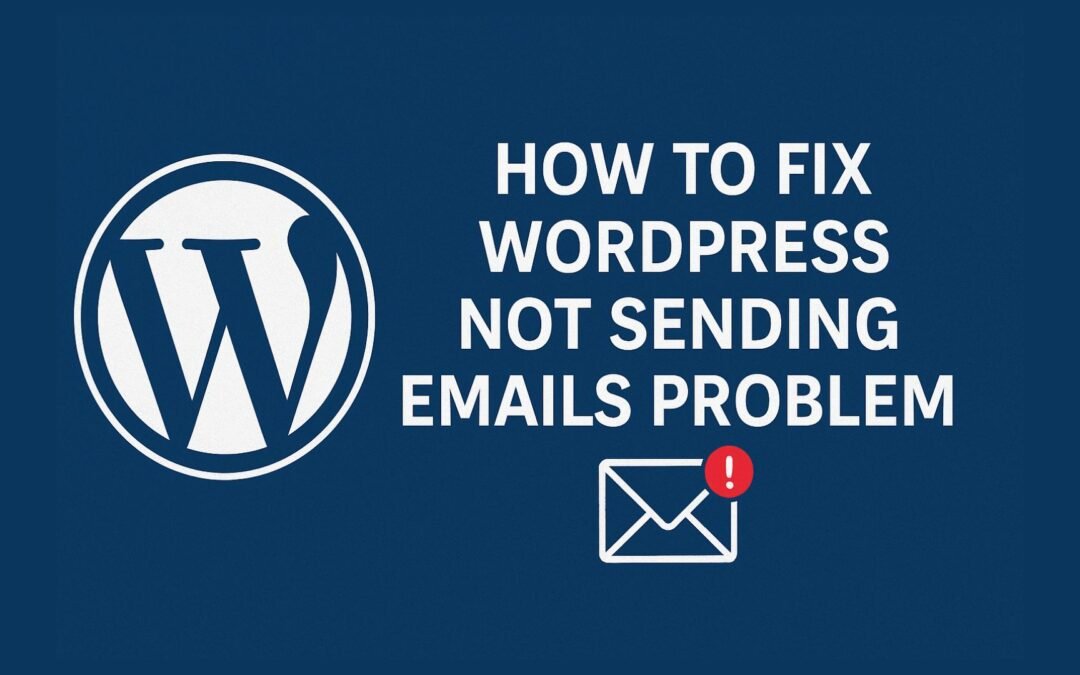
How to Fix WordPress Not Sending Emails Problem
One of the most frustrating issues for WordPress users is when the website suddenly stops sending emails. Whether it’s contact form messages, password reset links, or WooCommerce order notifications — these emails are essential for smooth communication and user trust....
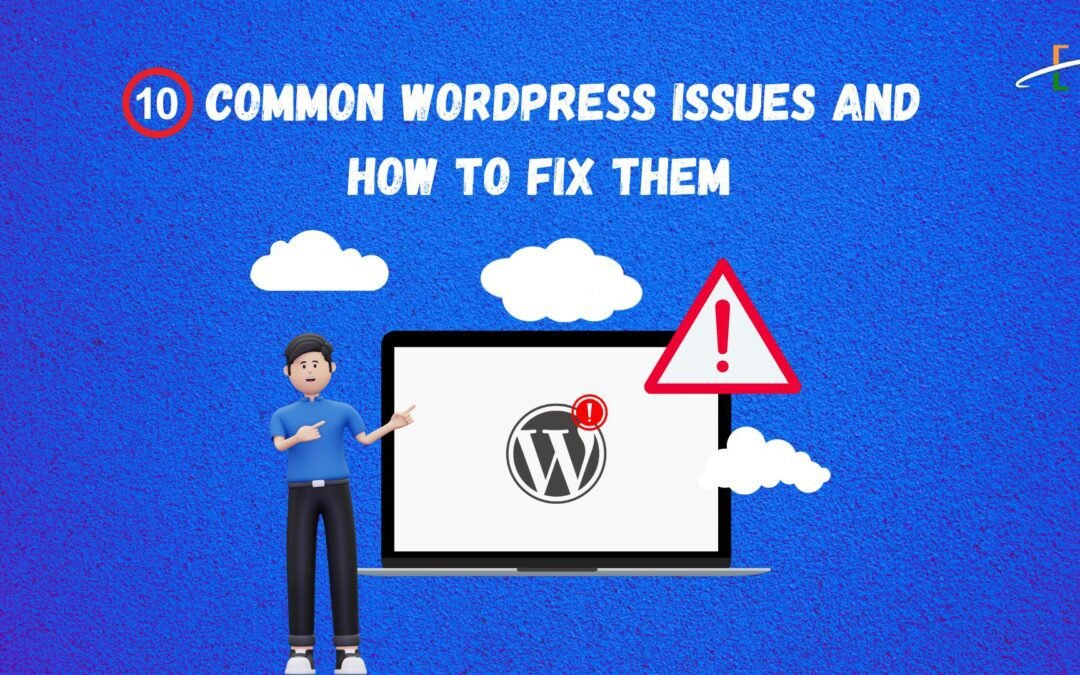
10 Common WordPress Issues and How to Fix Them
WordPress is a powerful and flexible platform, but it can occasionally present technical challenges that disrupt your website’s performance or functionality. From plugin conflicts and slow loading speeds to security issues, broken links, and failed updates, these problems are common for many site owners. This guide highlights the most frequent WordPress issues and provides practical, easy-to-follow solutions to resolve them quickly. Whether you’re troubleshooting errors, improving performance, or strengthening security, understanding these fixes can help keep your WordPress site running smoothly and reliably.